
November 4, 2018
Activities, Age, Everyday Crafts, Grown-Up, Jewelry and Fashion, Older Elementary, Tween to Teen, Yarn & Fabric

Need a super fun, super relaxing weekend project? Here ya go!
Using your white colored pencil, make small marks where you want your rainbow to begin and end on your pocket. Then connect these two spots by drawing a curve. To perfect the curve of your rainbow, you can trace a frisbee, embroidery hoop or something else with a smooth curved edge.
Thread your needle, knot your embroidery floss and stitch along the curve. Instead of the basic running stitch, you’re going to sew split stitches so your rainbow is a solid line. (Find the split stitch tutorial here .) Once you’ve completed your first row, stitch two more rows of the same color right alongside it for a nice, heavy line.
When you’ve finished your three rows, tie off the embroidery floss and snip off any excess. Repeat this process with all of your colors, until your pockets are bright and colorful!

When it comes to Halloween, I literally can find a way to leave no stone un-spooked. It happens just once a year, so I say, go all out and craft the heck out of it!
This cute slash spooky black-cat candy bowl was inspired by these kitty cat containers that I made earlier this year…just on a grander scale!
You can find the templates on the link above (just resize them to fit your box), and I’ve edited the how-to below!
Here’s what you need:

When toys can teach our kids about interesting careers, I’m all for it! Barbie has come out with a line of dolls that focuses on getting kids interested in careers through pretend play. Gone are they days when Barbie is just into Ken!
This year they asked if I’d design costumes to match these dolls and this beekeeper might be my fave!
What you’ll need:

 Paint hat white. Hot-glue white tulle to the edge, leaving about a 2” gap in the back.

With a new shift in how Barbie is reaching girls, they are designing career dolls that have a very interesting range. When they asked me to make costumes to match this new line of dolls, I was very excited to see this construction builder as one of them. A job that most think is held primarily by men, girls are now learning that women are more than capable of this type of career path.
What you’ll need:

Toolbelt:
 Cut 7” tools from cardboard and paint them orange.
  Adhere 2 strips of orange duct tape face to face to make the belt.
 Vest:
 Draw a line down the center of the shirt and two curved lines around the sleeves.
 Cut up the center black tape line and cut off the neck of the t-shirt.


There was a time, and it wasn’t too long ago, that we only associated Barbie dolls with beauty, fashion, shopping, and let’s not forget Ken. Barbie has pivoted in a big way to teach little girls that they truly can be anything they want to be.
When my friends at Barbie asked me to create DIY costumes based on these new career dolls, I was excited to help promote this positive shift. Check out this intelligent and respectable scientist, with not just matching necklaces, but matching lab flasks, too!
What you need:
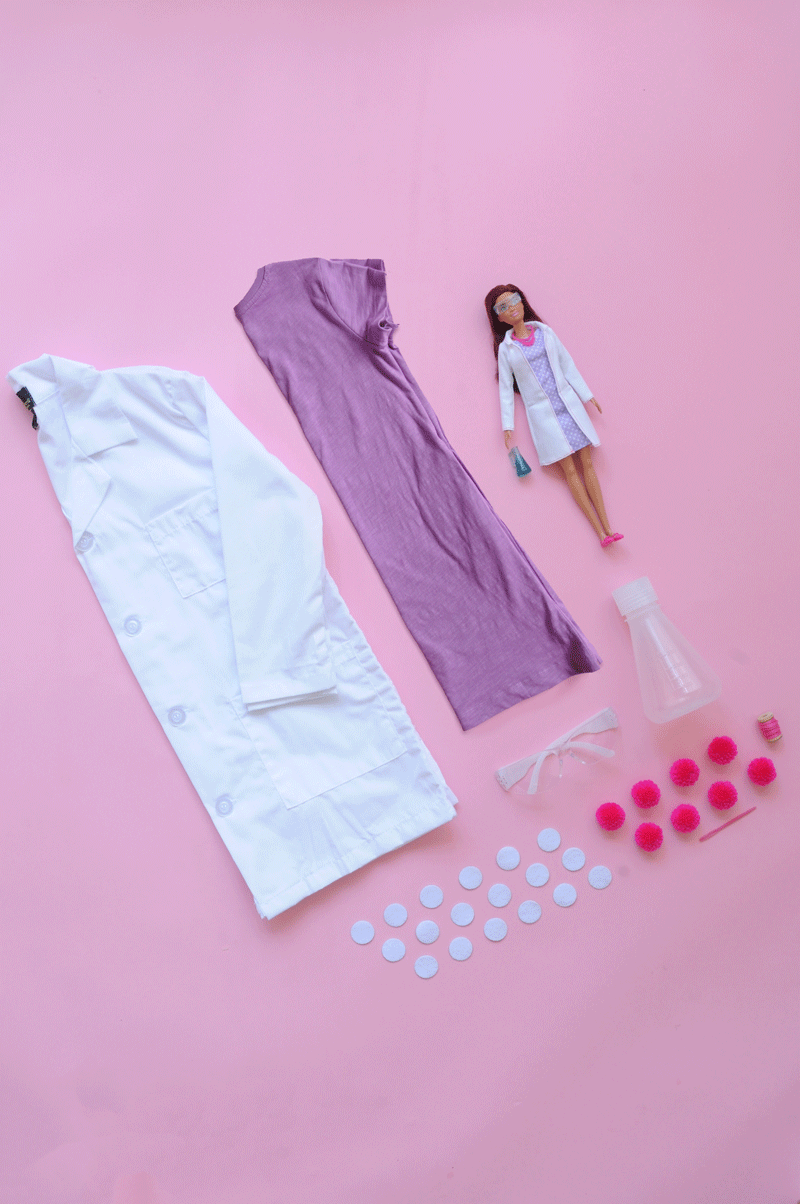
 Adhere white felt circle stickers to dress. Use a ruler to line them up.
 Thread pink pom-poms onto string to make Barbie’s necklace. Knot in back.

